Making Your First iOS App - Part 3

Welcome to part 3 of the Contacts App series! If you've gotten this far, you've already learned how to create UI with Interface Builder and set up a table view using protocols and delegates. By the end of Part 2 in this series, we left off with an app that can display a static list of names. This doesn't offer our users much functionality. In this post, we are going to make our app more useful for our users by allowing them to add and delete contacts from their contact list. Let's get started!
Adding Contacts to the Table View
In the last post, we created an IBAction in our ViewController.swift file and we called it addTapped. We're going to add the code to display a popup when the user clicks on the + button in the upper right-hand corner of the screen. We'll be doing this piece-by-piece, so be ready to make multiple changes to your addTapped method as we go through. Start by adding the following:
@IBAction func addTapped(_ sender: Any) {
    // 1
    let ac = UIAlertController(title: "Add New Contact", message: nil, preferredStyle: .alert)

    // 2
    let cancelAction = UIAlertAction(title: "Cancel", style: .cancel, handler: nil)
    ac.addAction(cancelAction)

    // 3
    let saveAction = UIAlertAction(title: "Save", style: .default, handler: nil)
    ac.addAction(saveAction)

    // 4
    present(ac, animated: true, completion: nil)
}
There is a lot going on here, so let's walk through this one part at a time.
The first thing we do is create a new instance of a UIAlertController. This is an object that will display an alert message to the user. We give our alert a title, leave the message blank by specifying
nil, and choose the alert's style as.alert.Next, we create our
cancelActionby using theUIAlertActionmethod. Looking at the documentation, we see that this method specifies "an action that can be taken when the user taps a button in an alert." We give our action a title, assign it the.cancelstyle, and set the handler tonil. More on the handler a bit later. Finally, we add thecancelActionto our alertController,ac, using theaddActionmethod.This third step is very similar to our second step. Create the action, set its title, set its style (using
.defaultthis time, instead of.cancel), set the handler tonil, then add it to theac.Finally, we are going to use the
presentmethod to display the alert that we just created in the first three steps.
Go ahead and run your app and click on the + in the upper right-hand corner of the screen. You should see the following:
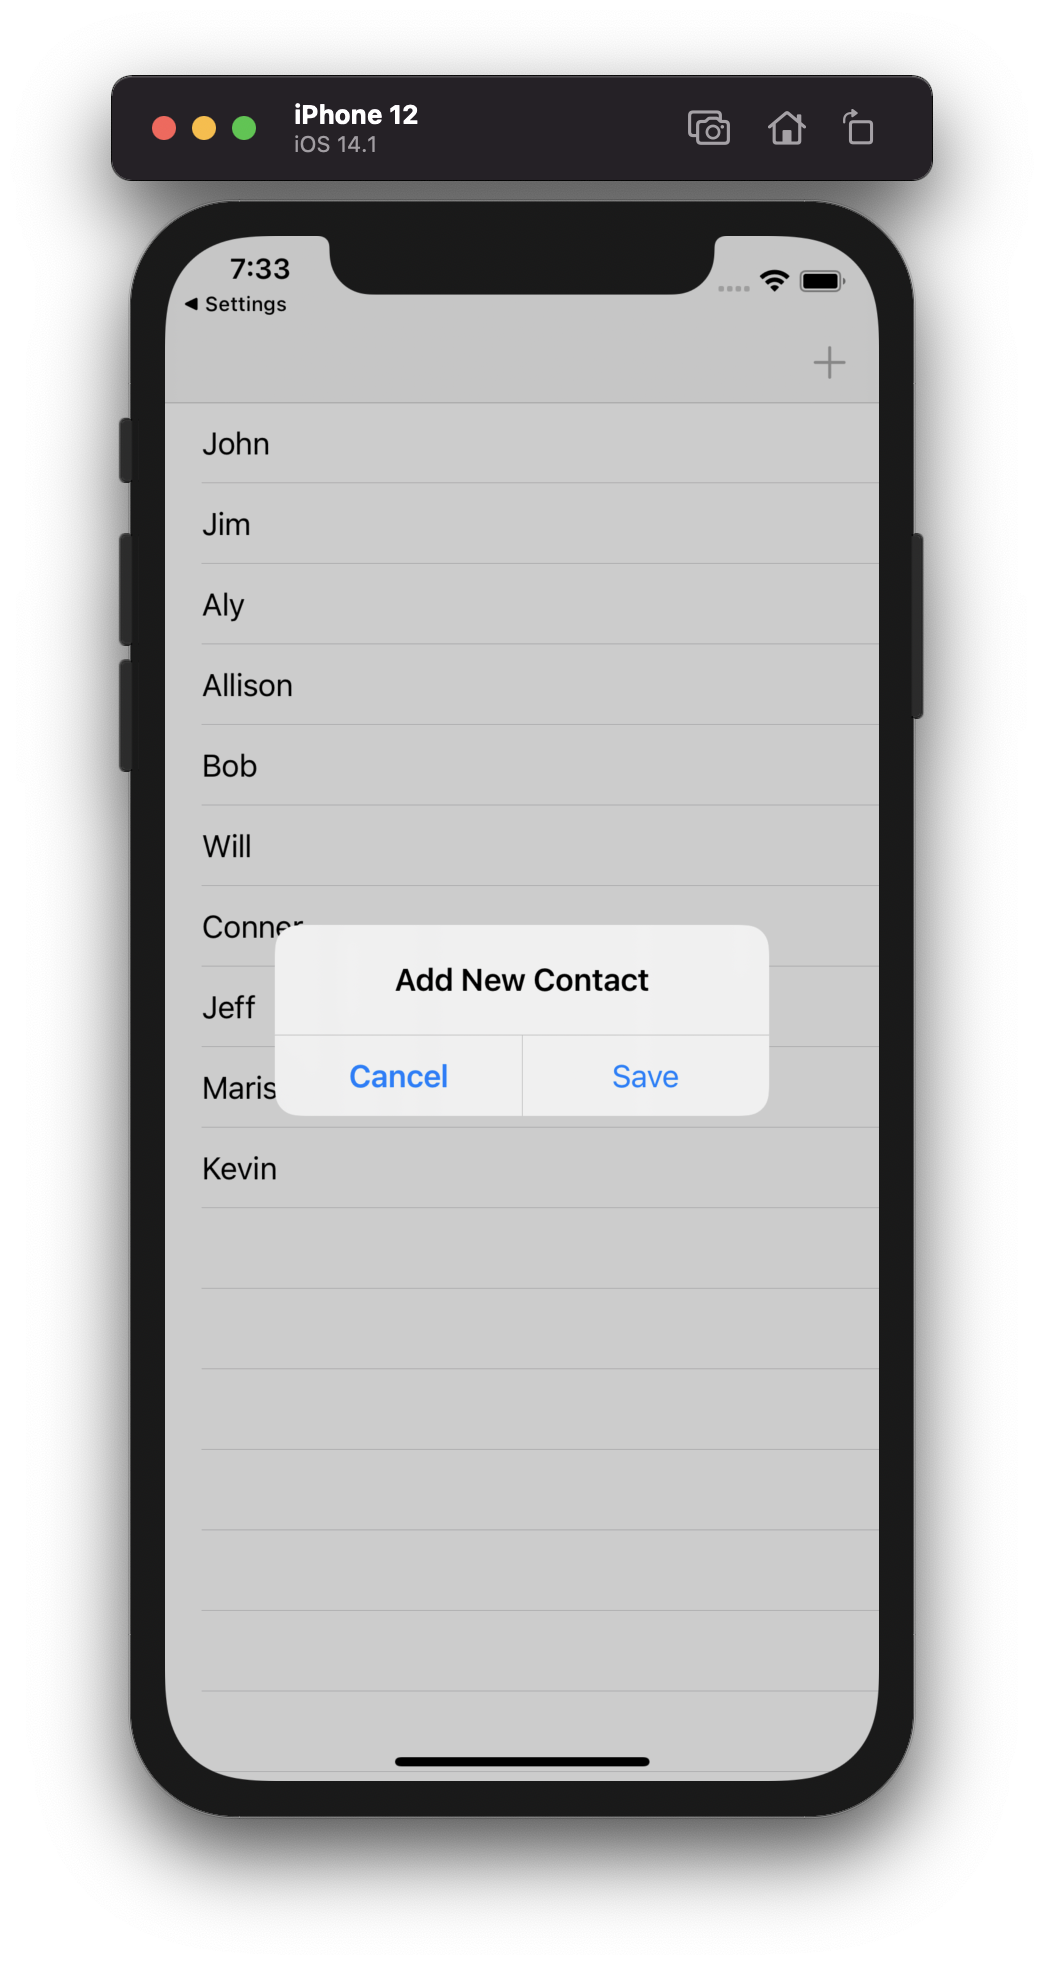
Clicking on the cancel or save buttons will dismiss the alert. That is the correct functionality for the cancel button, but we want to add a name to our list when a user taps the save button. Before we can save a name, we need to give our users a way to enter a name in the first place. We'll do that by adding a textField to our alert. Modify your addTapped method with the following:
@IBAction func addTapped(_ sender: Any) {
    let ac = UIAlertController(title: "Add New Contact", message: nil, preferredStyle: .alert)

    // add the following 3 lines
    ac.addTextField()
    let nameTextField = ac.textFields![0]
    nameTextField.placeholder = "Enter contact name"

    let cancelAction = UIAlertAction(title: "Cancel", style: .cancel, handler: nil)
    ac.addAction(cancelAction)

    let saveAction = UIAlertAction(title: "Save", style: .default, handler: nil)
    ac.addAction(saveAction)

    present(ac, animated: true, completion: nil)
}
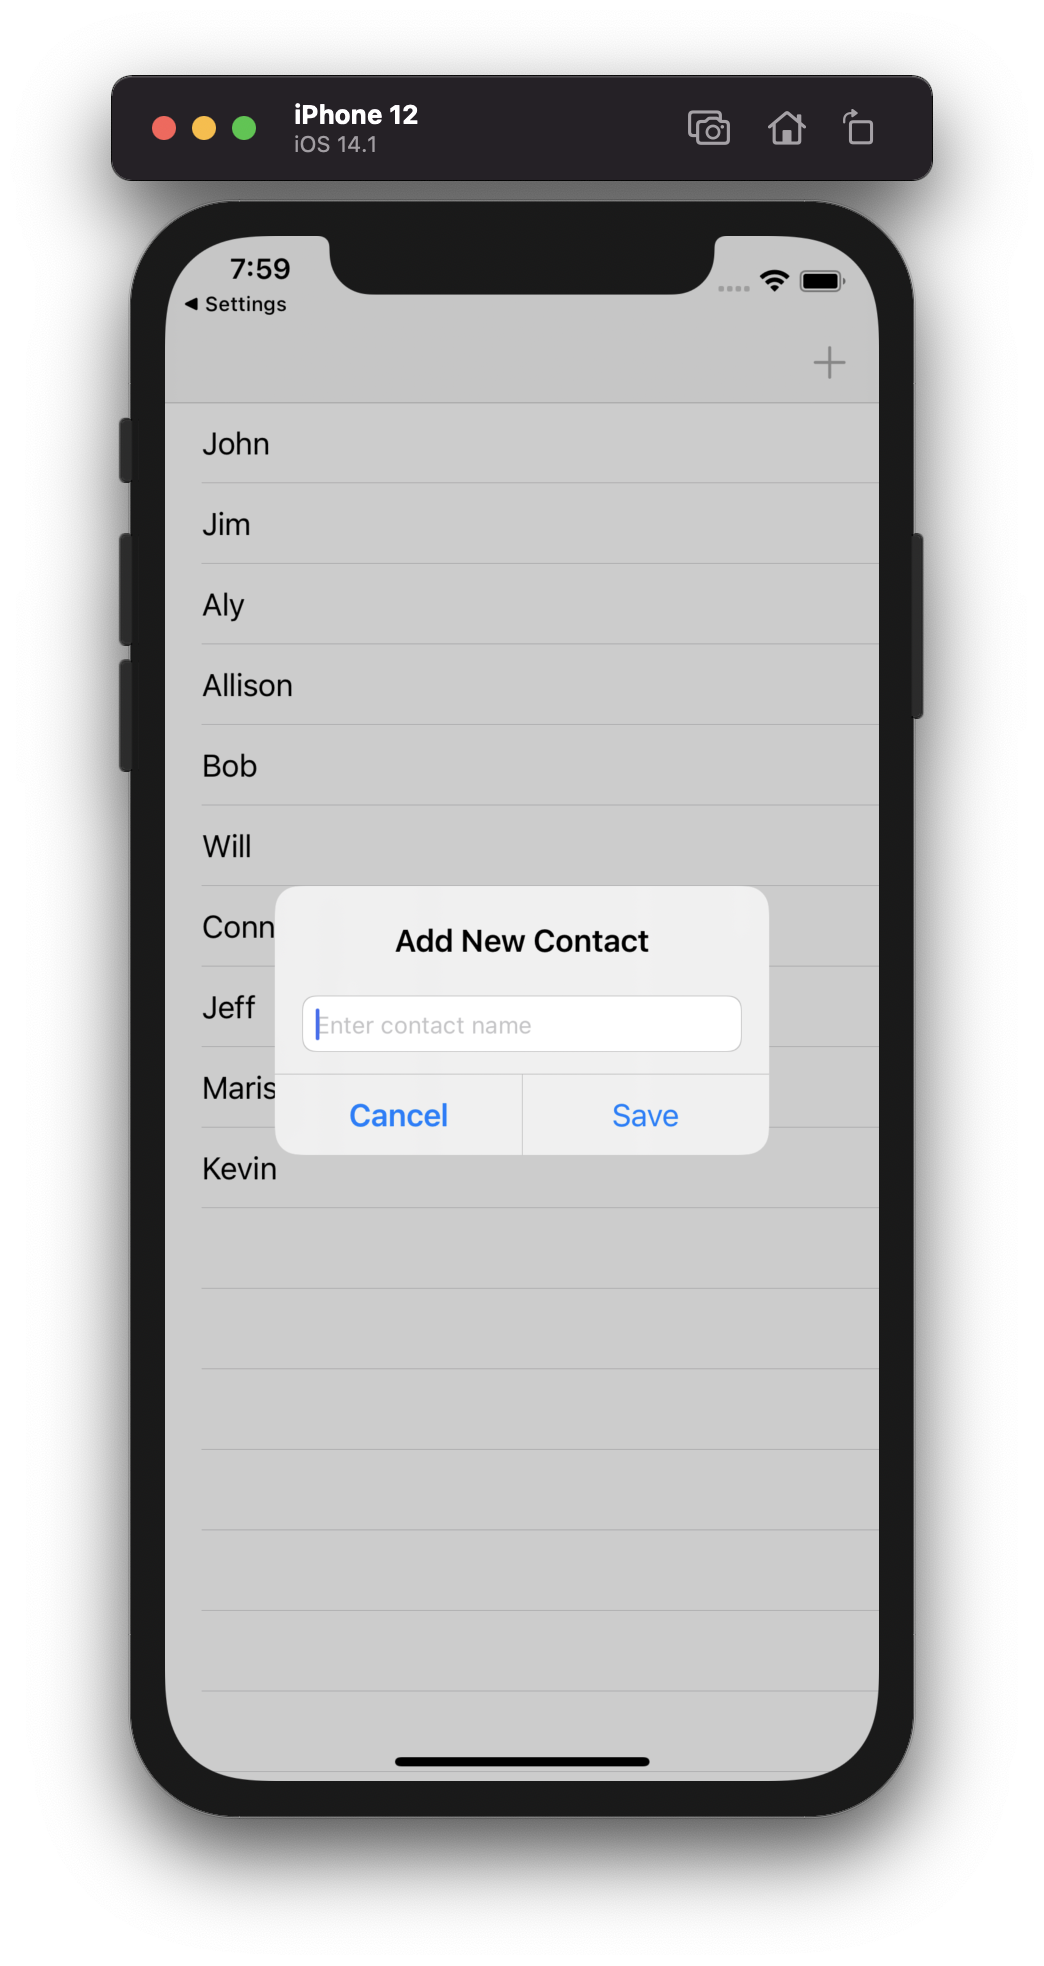
What we just did is add a textField to our alert that gets presented to the user. We use the addTextField() method to add a text field to the alert. We define the newly created textField as the nameTextField and access it by taking the first textField of the alertController's textFields property. Notice that we are using an ! to force unwrap the optional textFields property. (More on force unwrapping and optionals in a future post.) Finally, we set the placeholder property of our nameTextField. Feel free to use whatever text you want, but it should be something that communicates what we want the user to do.
Run your app again and you should see the following. Notice that we now have a clickable field that lets users add text.
Now that we have our buttons and textField set up, we are going to start adding names to our previously-static list! First, change your contacts array from a constant to a variable by changing the let to a var. Now, we are going to change the existing saveAction to the following:
let saveAction = UIAlertAction(title: "Save", style: .default) { _ in
    self.contacts.append(nameTextField.text!)
    DispatchQueue.main.async {
        self.contactsTableView.reloadData()
    }
}
Notice, we no longer see the handler parameter in the UIAlertAction method, it has been replaced by curly brackets and _ in. The handler has been replaced by a trailing closure. In Swift, a closure is a self-contained block of functionality that can be passed around and used in your code. Basically, we are going to pass multiple lines of code as the final argument of our UIAlertAction.
Within our closure, we are going to append the text from the nameTextField to our array and then we call reloadData() on our contactsTableView to refresh the data in the table view. Notice, we've wrapped this call within DispatchQueue.main.async. What does that do? In iOS, there are multiple threads that our code can run on to improve performance and allow multiple processes to be run simultaneously. In general, when you enter code in a closure, you enter a background thread. As a rule, any kind of updates to visual elements shown to the user must be done on the main thread. We specify that we want to update our table view on the main thread by adding our code inside DispatchQueue.main.async.
Go ahead and run your project, enter a name, and hit Save. You should now see a new name get added to the bottom of your table view!
Deleting Contacts from the Table View
The last thing we're going to do in this post is add the ability for users to delete rows from the contact list. We are going to add our new code for this section to the extension section that we created in the last post. Go ahead and add the following code beneath the cellForRowAt method:
func tableView(_ tableView: UITableView, commit editingStyle: UITableViewCell.EditingStyle, forRowAt indexPath: IndexPath) {
    if editingStyle == .delete {
        contacts.remove(at: indexPath.row)
        tableView.deleteRows(at: [indexPath], with: .fade)
    }
}
This method allows us to perform actions on table view cells based on the editingStyle that is used. In this case, when a user swipes on a cell, we identify the editingStyle as .delete. Then, we are going to do 2 things:
- Remove the contact from the
contactsarray for the row that was swiped. - Delete the row from the
contactsTableViewwith the.fadeanimation type.
If you run your app now, you should be able to add and delete names from the table view.
Wrap Up
And there you have it! We can now add and delete contacts from our contact list. You may have noticed, though, any change you make while adding or deleting names does not get persisted between subsequent launches of the simulator. This persistence problem can be handled in multiple ways in iOS and it's what we are going to tackle in the next post. Until then, happy coding!


